6 ways to use masking tape in your sewing projects
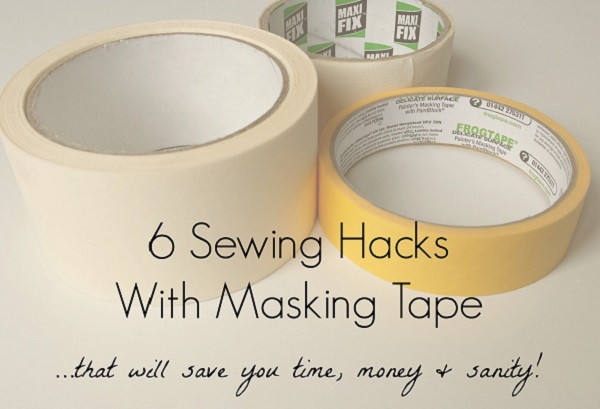
You might think masking tape should be stored in your garage or utility room, but after reading this post by Portia from Makery you might start keeping a roll (or two, or three) stored in your sewing space. She gives 6 ways you can use masking tape in your sewing projects, from cutting bias tape to marking seam guides.
Masking tape is a versatile tool that is commonly used for painting and home repairs. However, it can also be a useful tool in the sewing room. In her post, “6 Sewing Hacks With Masking Tape”, Portia from Makery showcases how this simple tape can make sewing projects easier and more efficient.
Here are some of my own tips for using masking tape in sewing.
Cutting bias tape: Use masking tape to hold the bias tape in place while cutting it to the desired length, making sure to keep the tape tight against the fabric.
Marking seam guides: Use masking tape to mark the seam allowance on your fabric, ensuring that you sew your seams accurately every time.
Securing fabric: Use masking tape to temporarily secure fabric in place while you are working on a project, preventing it from shifting or slipping as you sew.
Making pattern adjustments: Use masking tape to make changes to your pattern pieces, such as lengthening or shortening them, without having to make permanent alterations.
Creating bias tape: Use masking tape to help you fold fabric into bias strips, making the process easier and more precise.
Labeling fabric: Use masking tape to label different pieces of fabric, keeping your sewing projects organized and easy to identify.
By incorporating these tips into your sewing projects, you can make your work more efficient and enjoyable. To learn more about how to use masking tape in sewing, read Portia’s full post, “6 Sewing Hacks With Masking Tape,” on the Makery blog.

Leave a Reply