May Gibbs is one of Australia’s most treasured illustrators, artists and children’s authors. Her bush fantasy world has captured the imaginations of Australians for over a century. If you grew up in Australia, then you grew up with May Gibbs. Often seen in classrooms from a very young age, you can read some of the stories online here. But her iconic designs are not limited to storybooks. The designs have been transformed into a range of different products including clothing.
This sewing tutorial uses the amazing range of fabric from May Gibbs which are available to purchase from the local Spotlight store.
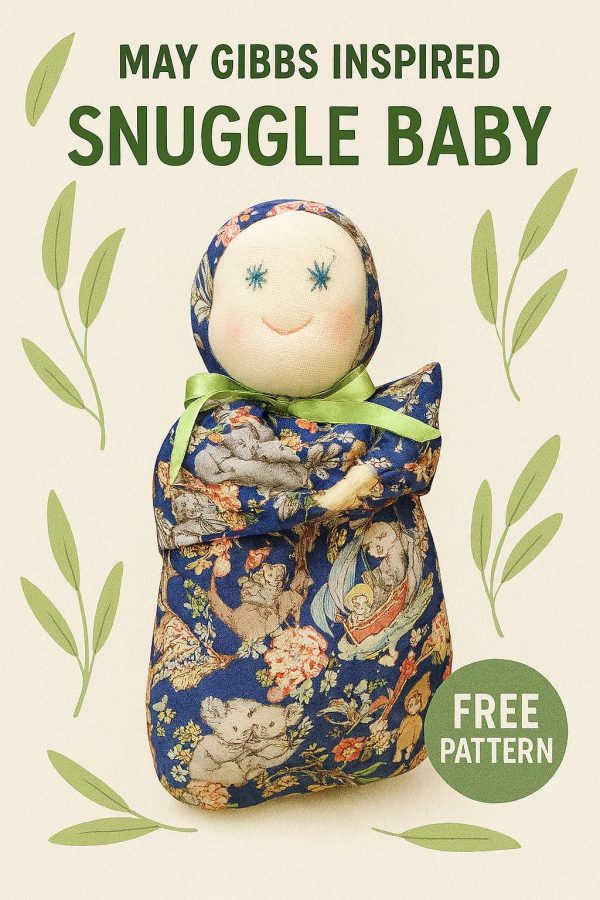
For this craft project, I wanted to create something snuggly for little ones to hold in their grasp. But even though this sewing project is aimed at little ones, by all means, make one for older children too. The pattern could easily be adapted to hold pyjamas or even a hot water bottle. If you are looking for more May Gibbs inspired crafts and activities check out our dedicated Pinterest board.
What you need
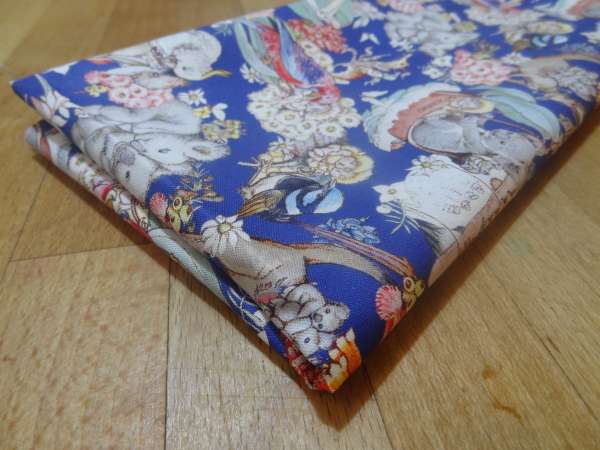
You will need 1/4 metre of stretch or cotton fabric in the May Gibbs range.
Small pieces of skin coloured stretch knit for your face and hands.
Sewing needle and thread
Toy filling
Embroidery threads, eye color and mouth
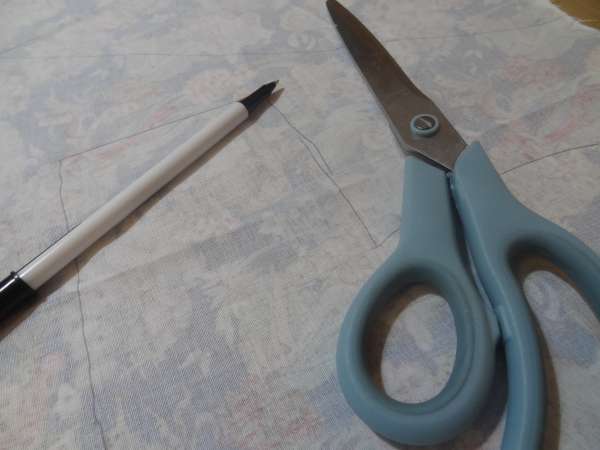
Scissors
Printable pattern from here May Gibbs pattern
Let’s get started
Step one
Begin by cutting out your pattern pieces.
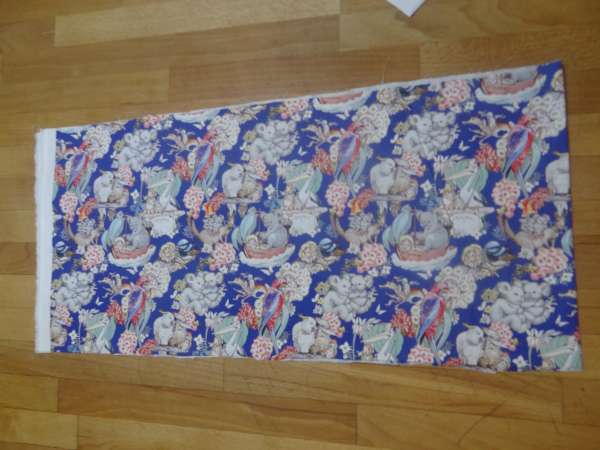
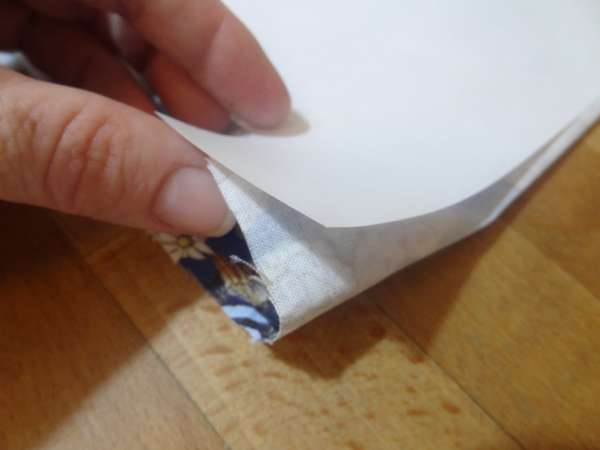
Fold your fabric so that you have a fold at one end (this is for the body). Cut the right and left side for the body in 1/2 and un fold to reveal the full body. Alternatively, you can cut out the body from the paper pattern and form the full body shape with the paper by sticking the two sides together. This pattern is created in a 1/2 so that you can easily print this pattern at home.
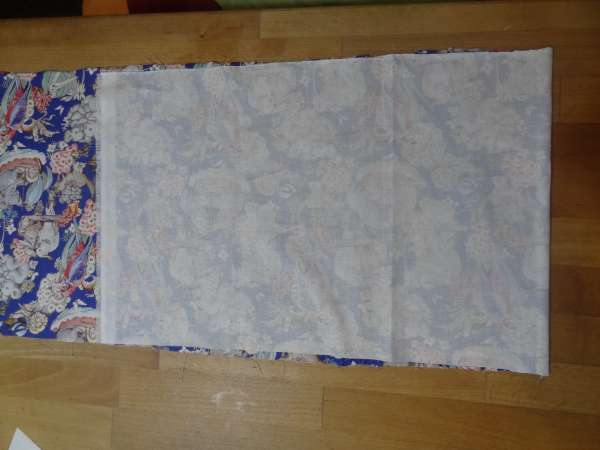
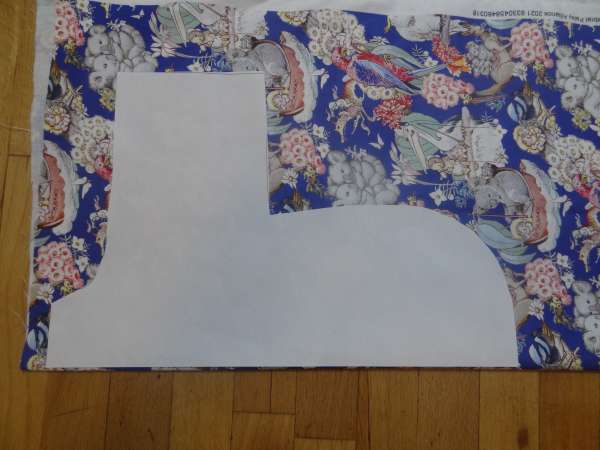
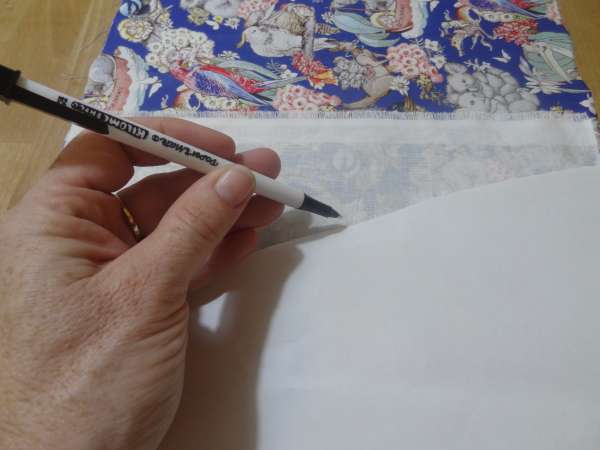
Trace your pattern onto the white/wrong side of the fabric and cut out. I added the hat pattern at the same time.
Step 2
Print out your patterns and cut them out of the paper. These pattern shapes are not that hard to draw, so you could freehand this step, just making sure that you maintain the basic shapes as shown below.
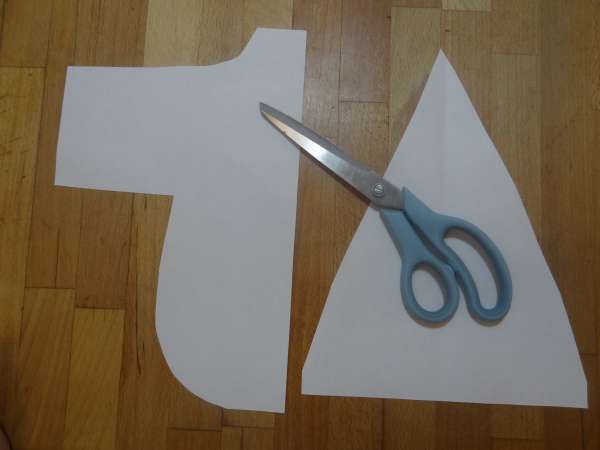

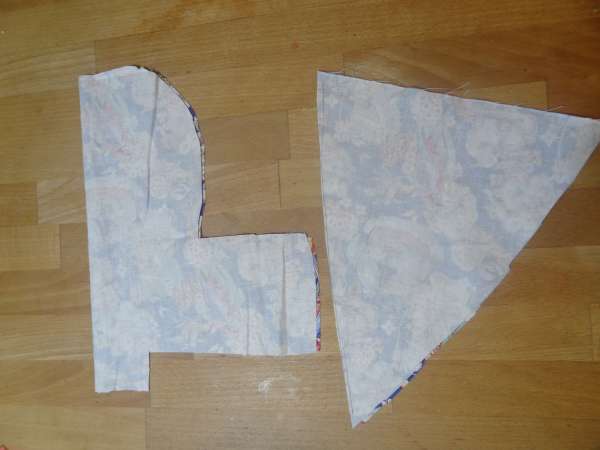
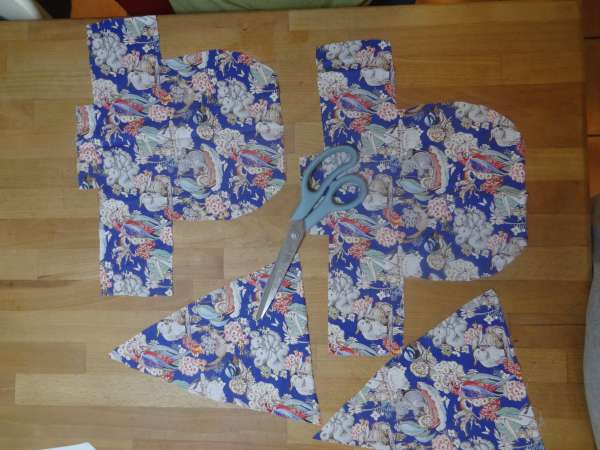
You should have 2 bodies, 2 hats.
Step 3
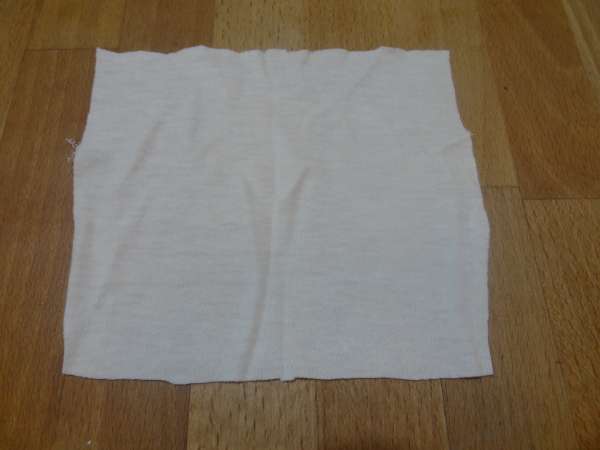
The next step is cutting out the head and hands from the skin coloured fabric.
Step 4
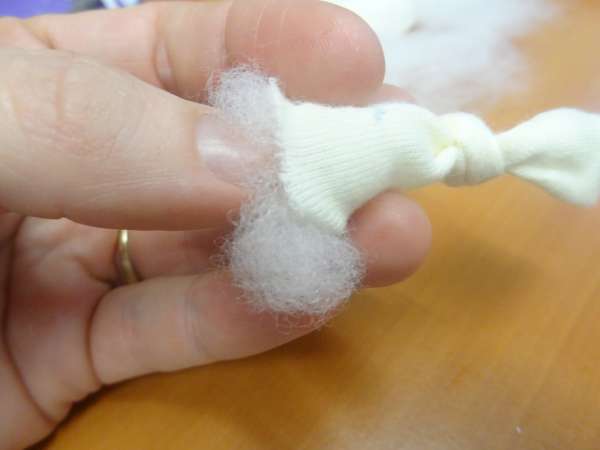
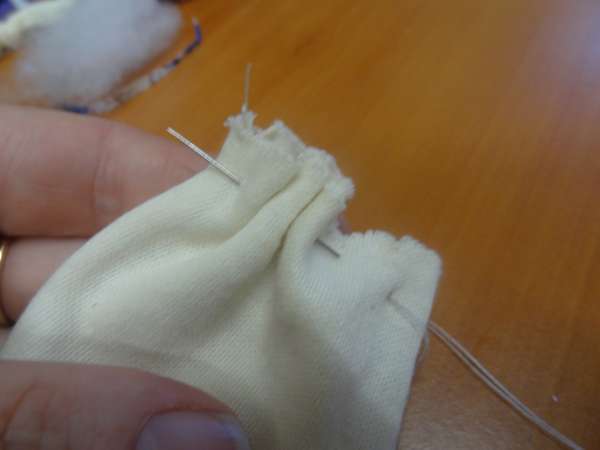
Take your head and hands and sew them into tubes as shown below. Make sure the stretch goes across the tube as this will give a more rounded head and hands once complete.
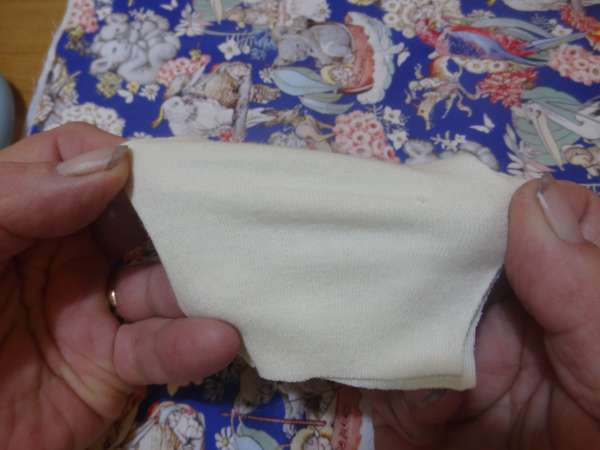
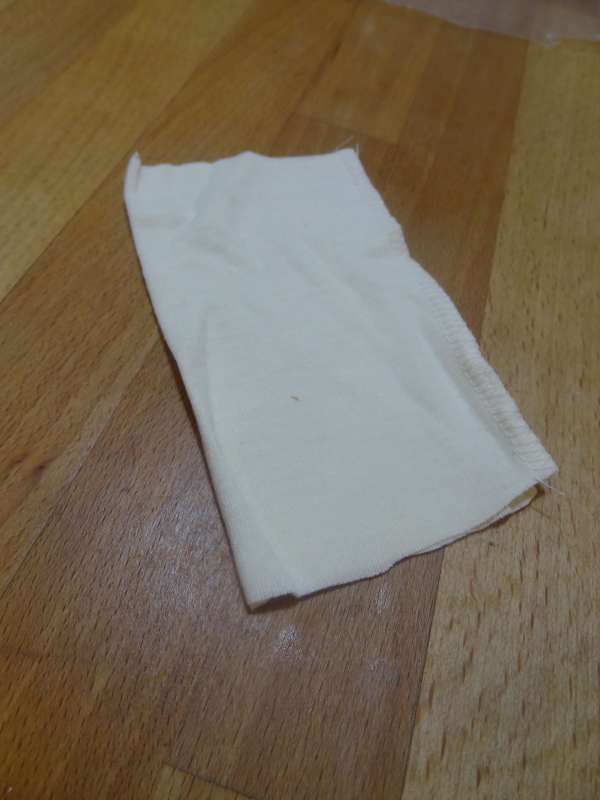
Turn both pieces right side out to form the tubes.
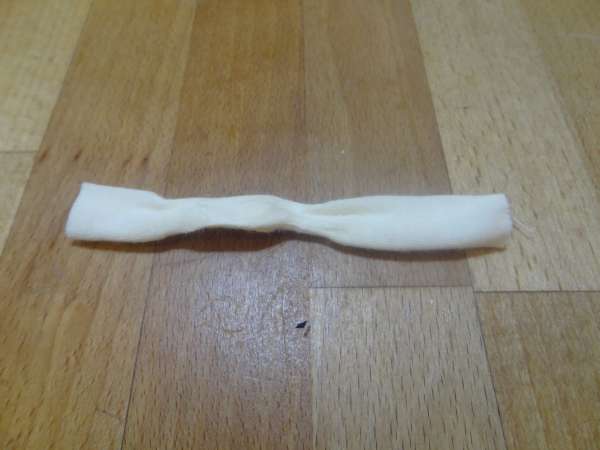
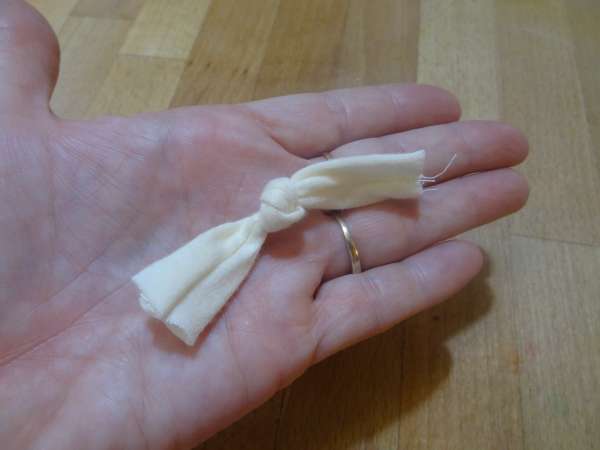
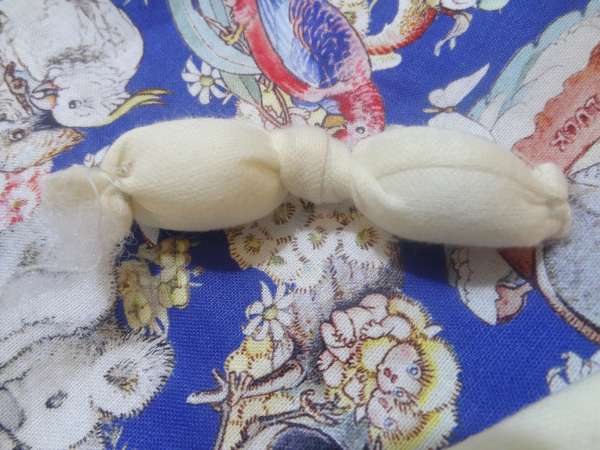
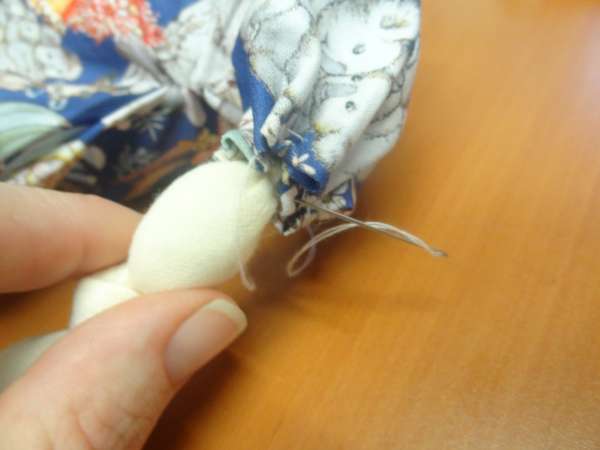
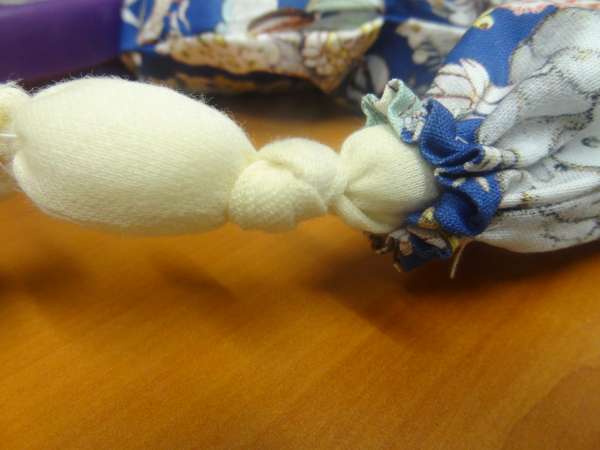
Take the long narrow one (hands) piece and tie it into a knot in the middle. This knot forms the clasped hands.
Step 5
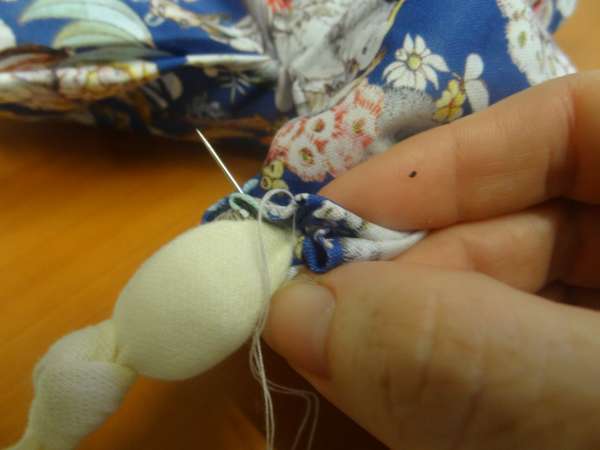
Next, fill each hand with toy stuffing and sew closed using basic running stitch to gather it up.
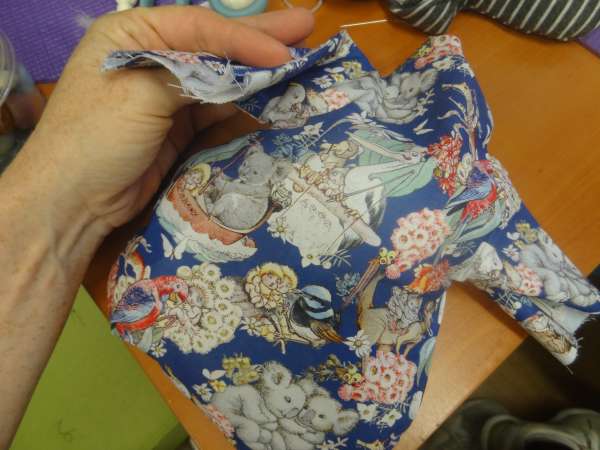
Step 6
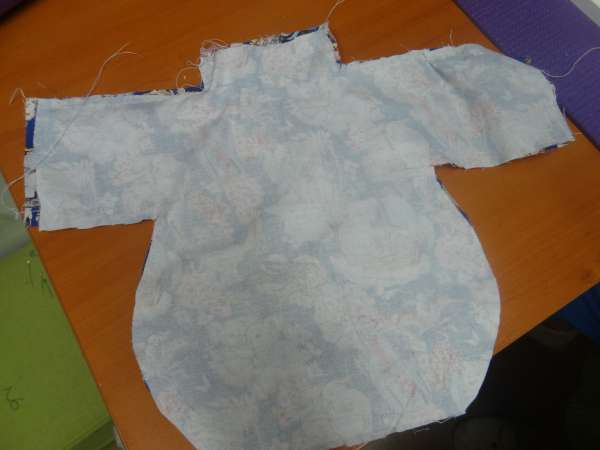
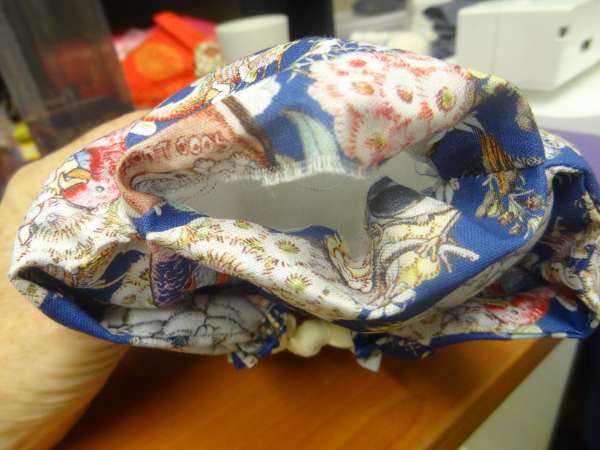
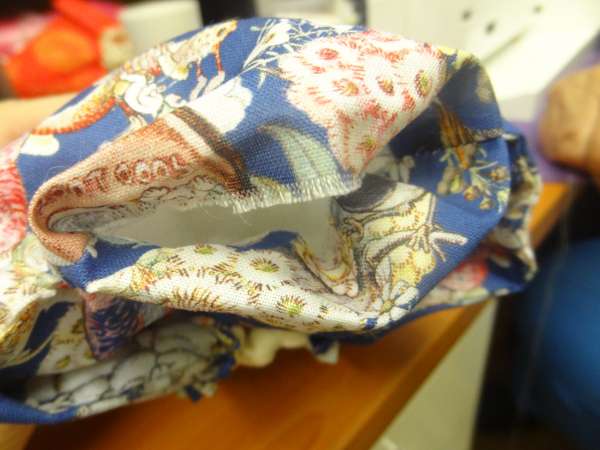
Put aside and begin sewing the body and hat. The body and hat should be sewn inside out and then turned the right way around. Make sure to leave the arms open and neck open for the head.

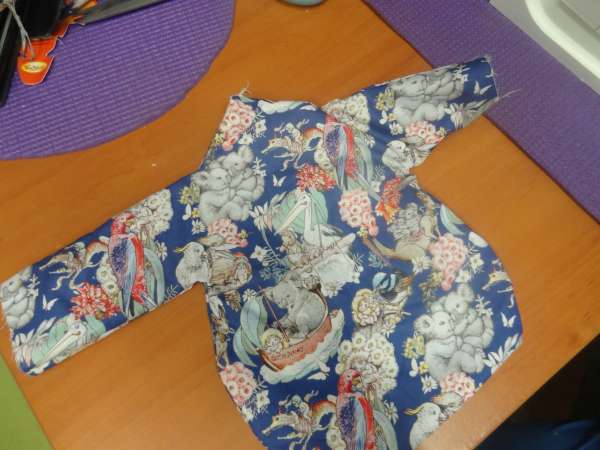
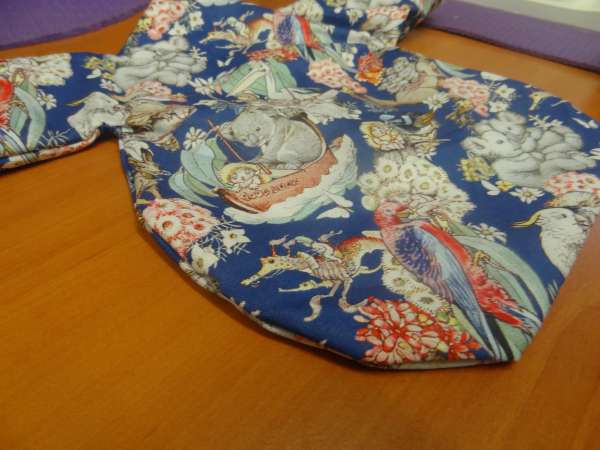
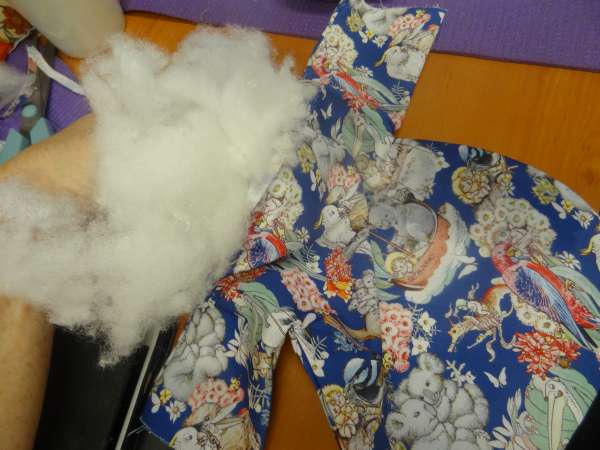
Step 7
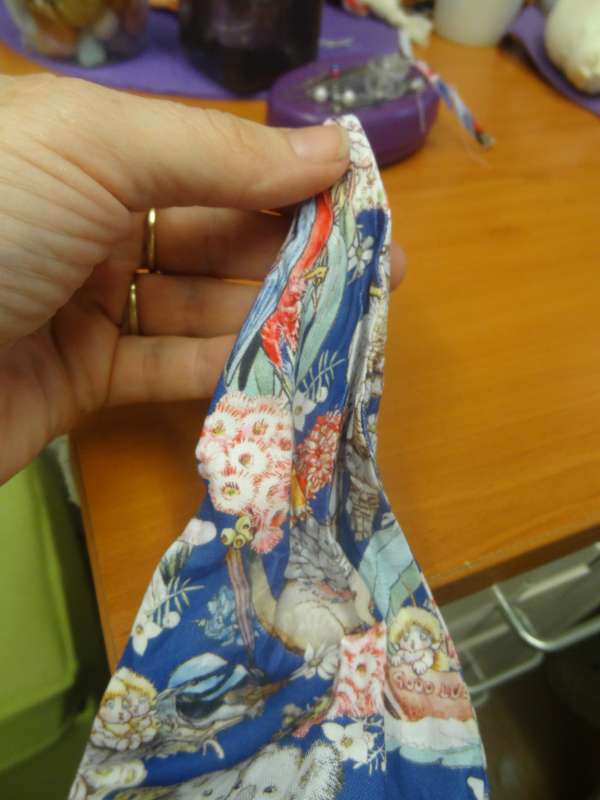
Press the hat and body flat with a warm iron. Then using the toy filling add some filling into the body of the doll. It should be soft and flat when filled (it is floppy snuggle doll).
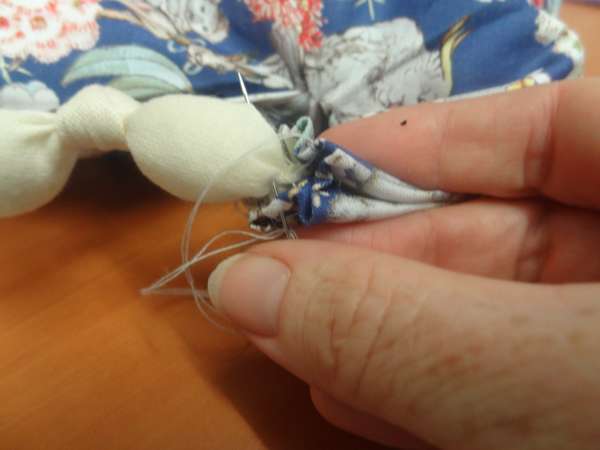
Step 8
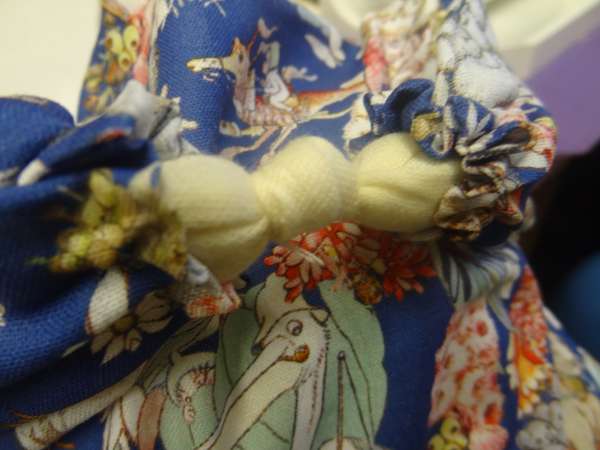
Add the hands into place and sew each hand into the sleeve. Fold the sleeve under slightly to form a neat hem edge, then using a gathered running stitch, draw it up, place the hand inside and secure with stitches. Do the same with the other sleeve, joining the hands in the middle.

Step 9
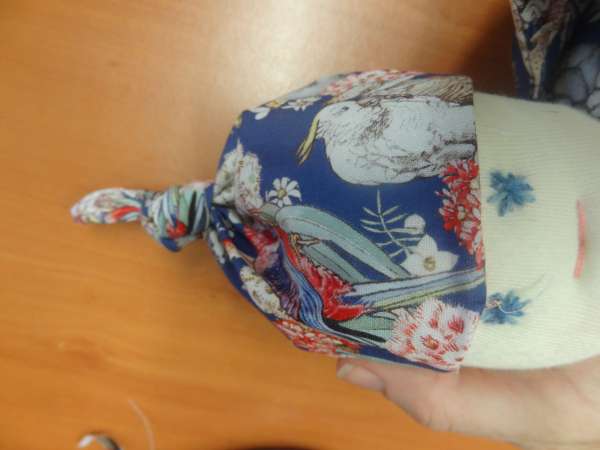
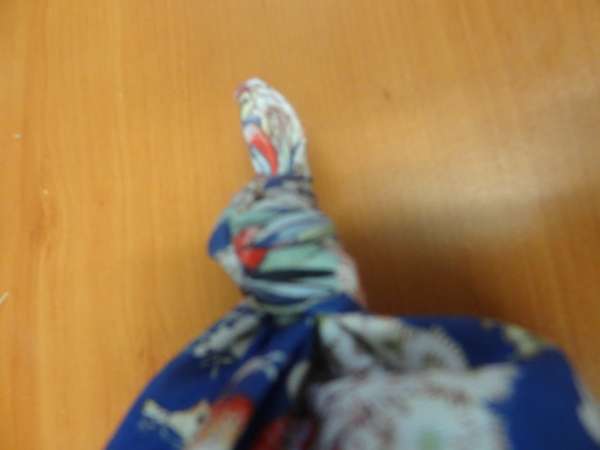
Next take the hat and tie a knot in the top to form a gum nut topper.
Step 10
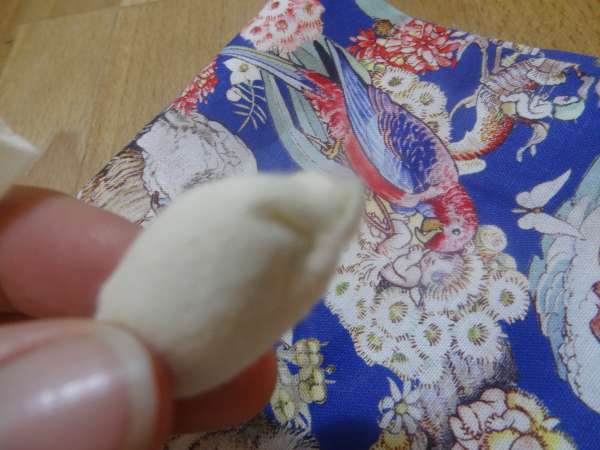
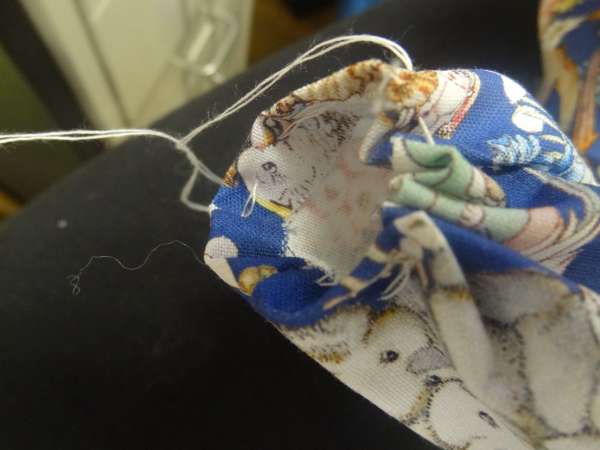
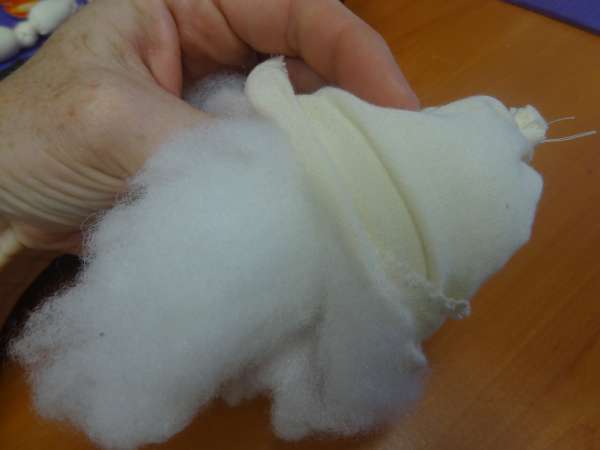
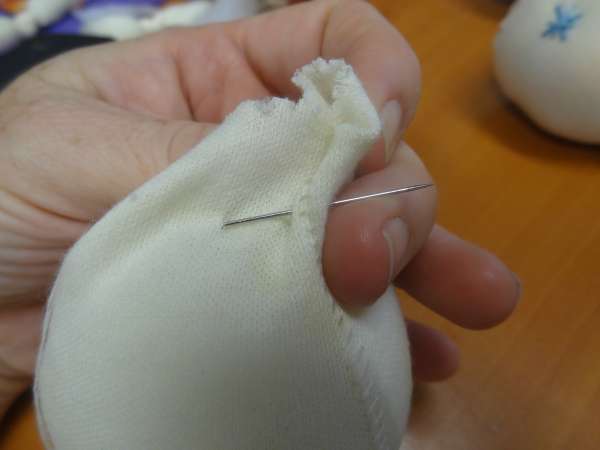
Set aside and make the head. Take your head tube and sew one end closed using the running stitch and draw technique. Fill with stuffing and close the head.
Step 11
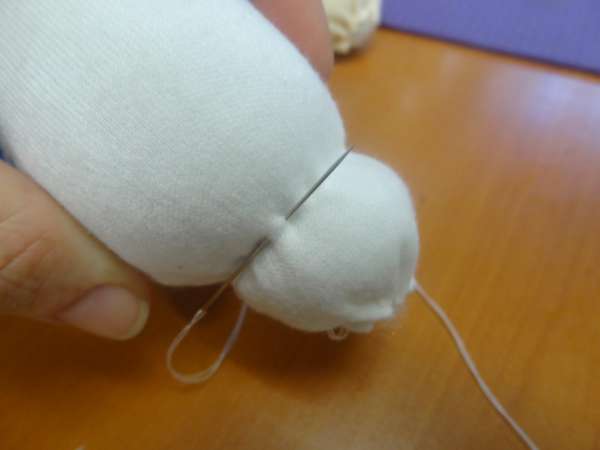
Next using a running stitch create a neck which should be 3/4 of the way down your head. Pull the stitches to form a neck but do not pull too tight as you want the neck to be thick to fit into and secure into the body.
Step 12
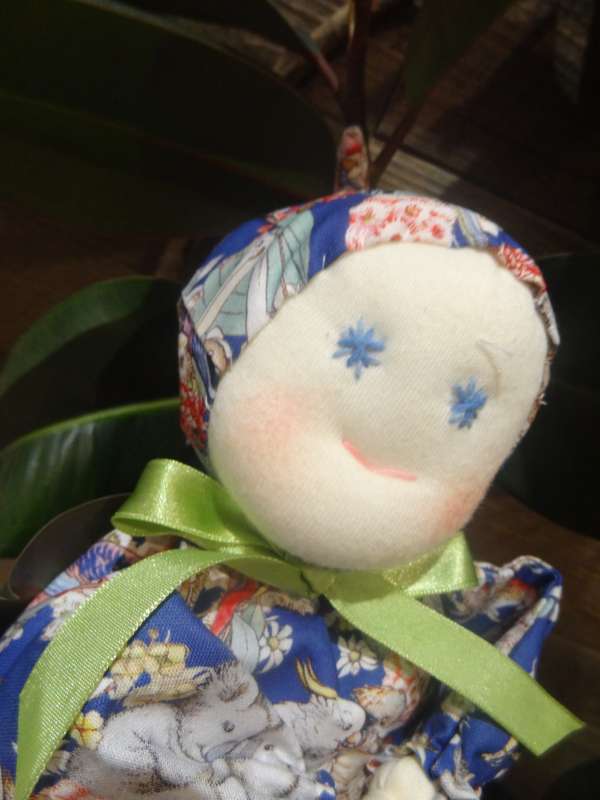
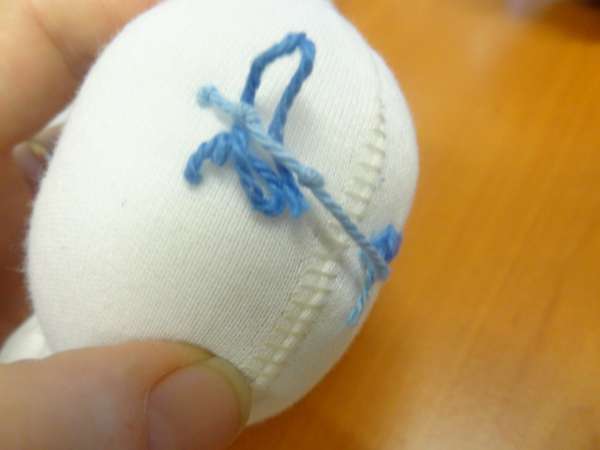
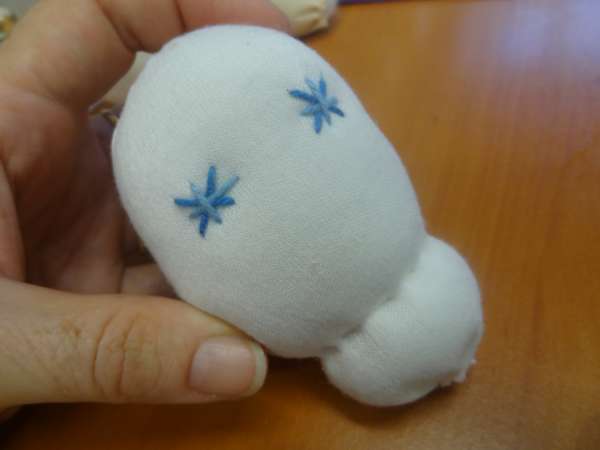
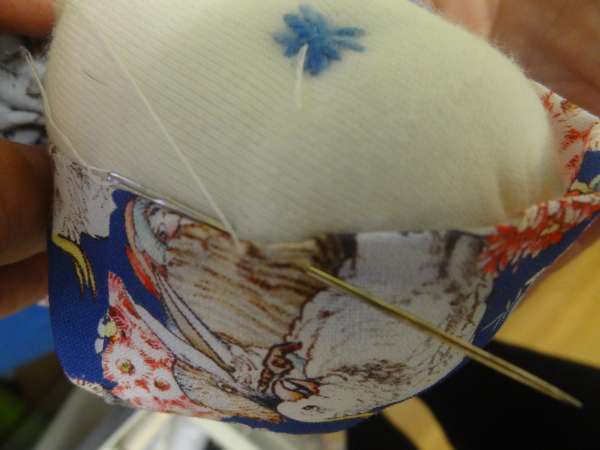
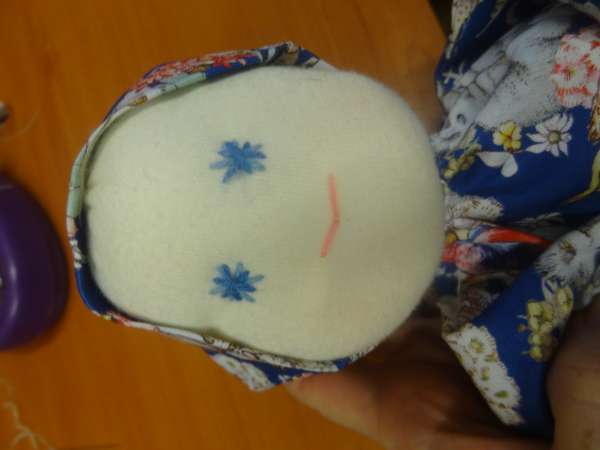
Create the face using embroidery thread. Come in from the back of the face, create the stitches for eyes and mouth using the photo as a guide.
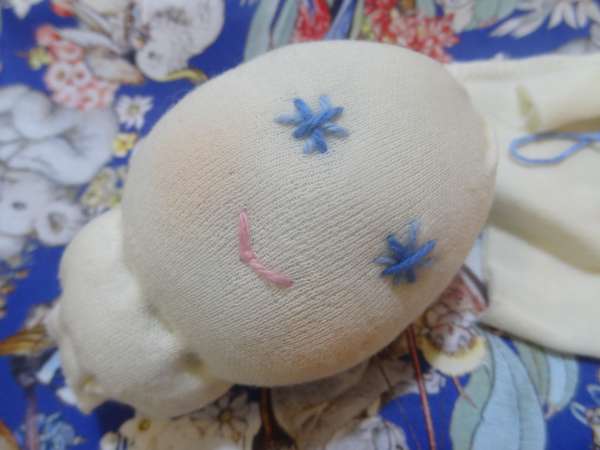
Step 13
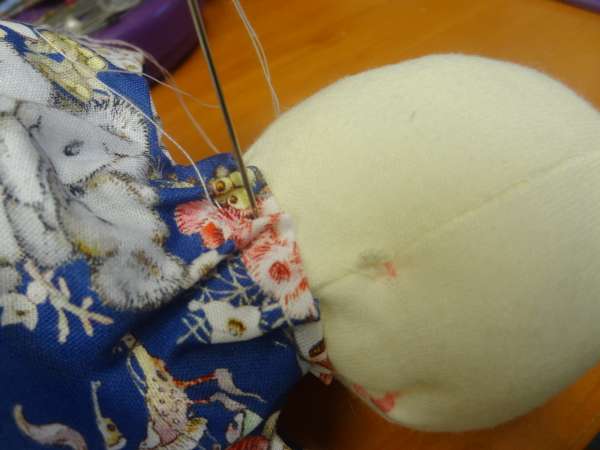
Sew the head into the neck hole, form a hem or tucked in edge and sew the head into place by sewing a running stitch around the neck fabric and drawing up over the neck. Secure with stitches.
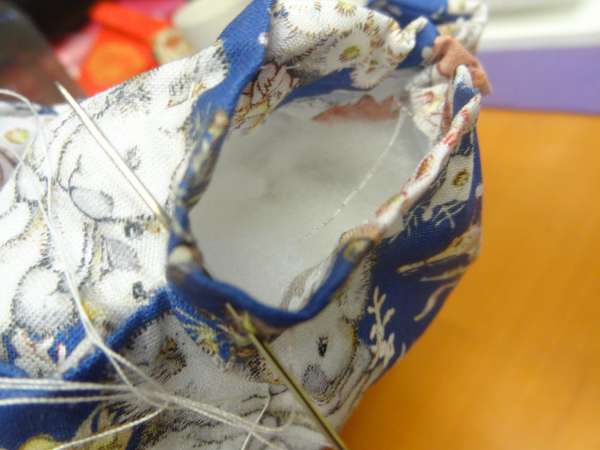
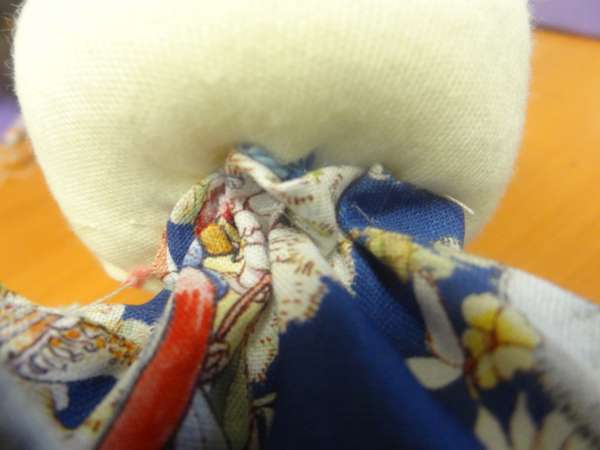
Step 14
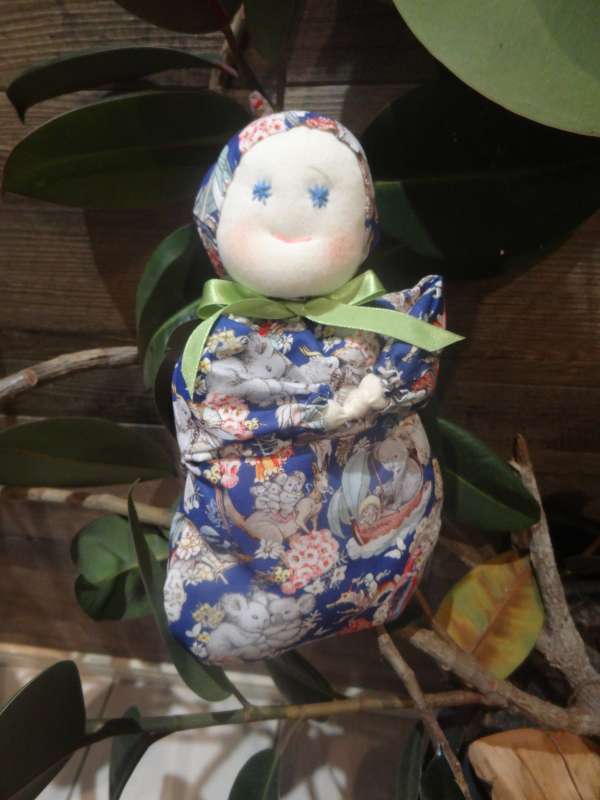
The final step is to place the hat onto the doll and stitch to the side of the head. Use small neat stitches to tack it into place around the head as shown.
Add some small blush to the cheeks, a ribbon around the neck and your May Gibbs inspired snuggle baby is complete!