Disclaimer: I received free ribbon from May Arts in exchange for writing this post. All opinions are my own.
When May Arts asked if I’d like to receive a sampling of their ribbon to review, I jumped at it. I’ve used May Arts ribbon before and know it be of high quality and beautiful design. What they sent me certainly didn’t disappoint! Beautiful printed twill ribbon with a muted palette and vintage-inspired images.
I used some of the ribbon to make a linen and flannel pot holder, and I’m sharing the tutorial here with you.
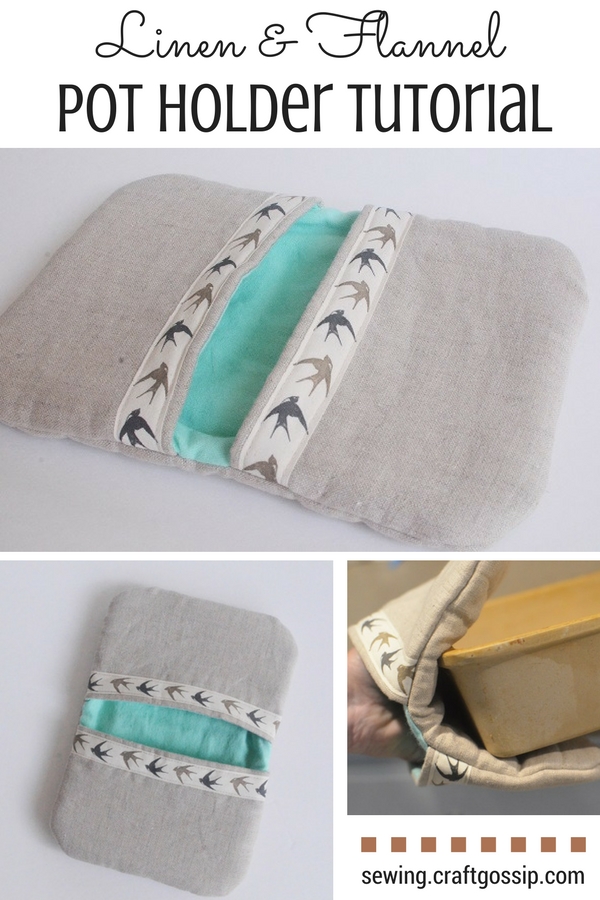
Tutorial: Linen and flannel pot holder
Gather & cut your materials:
Linen – 1 piece 8” x 11”, 2 pieces 8” x 5.5”
Insul Bright – 1 piece 8” x 11”
Cotton batting (you can also just cut on old towel) – 1 piece 8” x 11”, 2 pieces 8 “ x 5.5”
Flannel – 1 piece 8” x 11”, 2 pieces 8” x 5.5”
May Arts printed twill ribbon – 2 8” pieces
Temporary marking pen
Sew the pot holder bottom:
Layer the 8” x 11” pieces of Insul Bright, batting, and then linen (right side up). The flannel is NOT part of this sandwich. We’ll use it later.
Mark vertical quilting lines 1” apart on the linen.
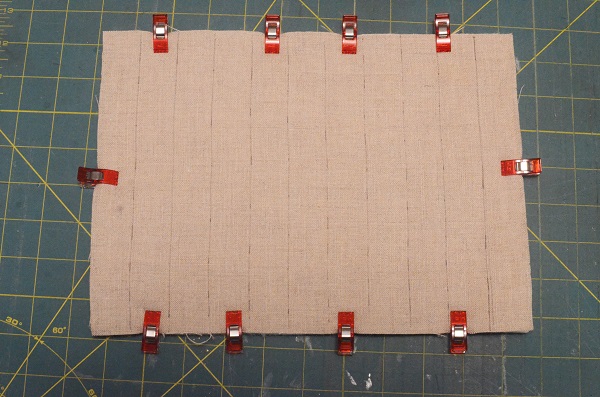
Quilt the layers together.
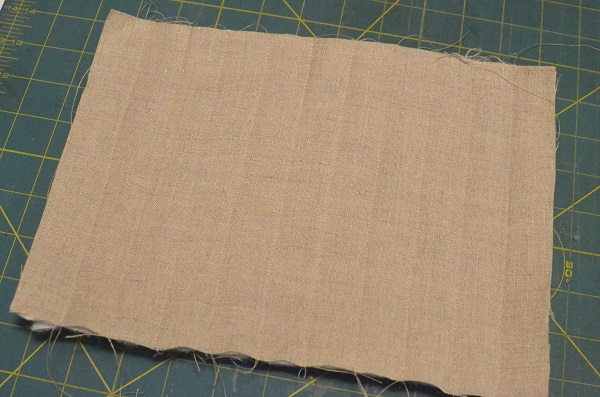
Sew the pockets:
Layer a 8” x 5.5” piece of batting, linen (right side up, and flannel.
Sew down one long side with ½” seam allowance.
Grade seam, turn the flannel to the front, press.
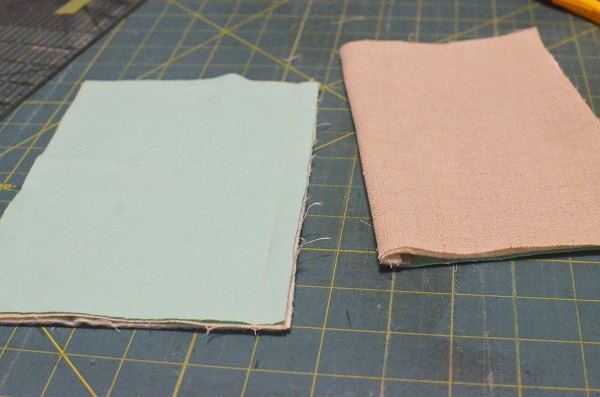
Sew a strip of the May Arts printed twill ribbon close to the finished edge.
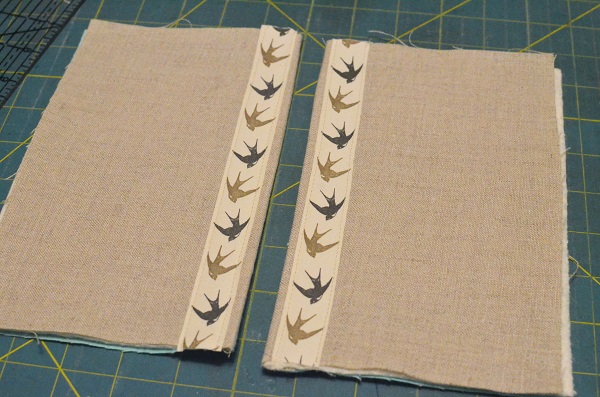
Repeat the steps in this section to make the second pocket.
Assemble the pieces:
Layer the quilted bottom piece (right side up), the pocket pieces (right sides down and placed at either end of the quilted bottom piece), then the 8” x 11” piece of flannel (right side down).
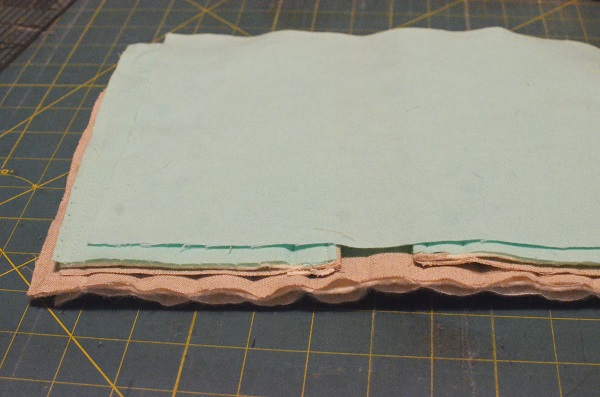
The photo shows the layers all offset, but I did that just so you can see the order of the layers. All edges should be lined up.
Now that the pieces are stacked, curve the corners. Use a drinking glass and the temporary marking pen to mark the curves, then cut on the lines.
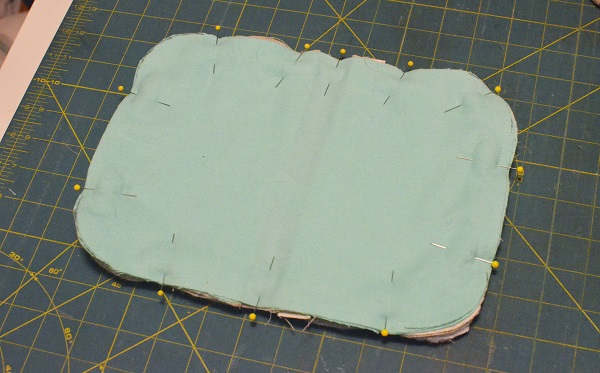
Sew around all sides with ½” seam allowance, leaving 4” hole on one end to turn.
Clip curves and grade seams. Clip to the seam allowance at either end of the turning hole.
Turn it right side out, then flip the pockets to the back so the lining is all on the outside.
At the hole, pull the flannel seam allowances back and line up the edges of the linen, batting, and Insul Bright layers.
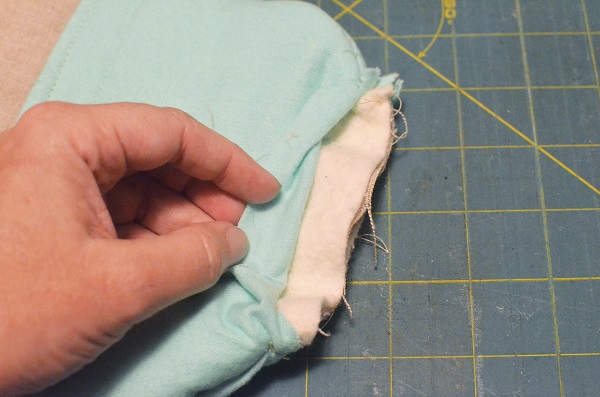
Sew through the linen, batting, and Insul Bright layers with ½” seam allowance to close the hole on those layers.
Use a ladder stitch to close the hole on the flannel layers.
Flip the pocket pieces back so the linen is now on the outside.
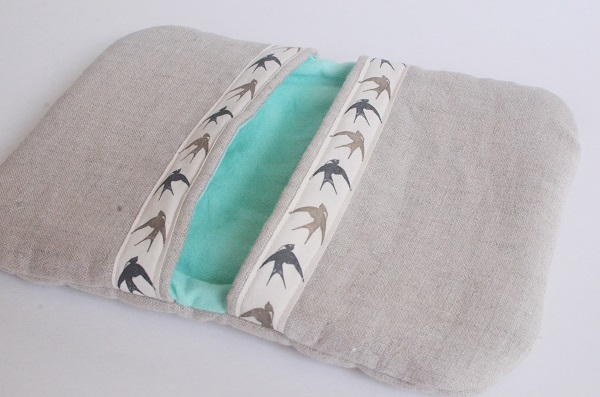
Your pot holder is done. Now go bake yourself something yummy so you can try it out!
Pot holders also known as Heat pads are perfect little weeknight projects. Perfect for scrap fabrics and small handmade gifts that will actually be used in the kitchen. If you love hot pads as much as I do, then you may want to check out some of our favorite designs for sewing patterns we found on Etsy.


Another absolutely FANTASTIC idea from Anne Weaver!