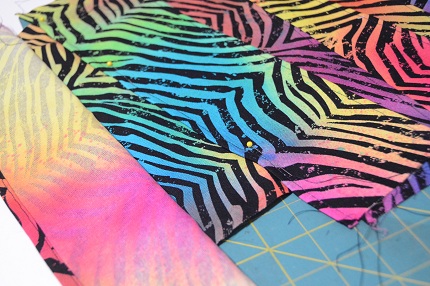
As promised, here’s the tutorial for the Tween Keepsake Board I showed you yesterday. For the fabric, I used some of the new Crafty Cuts fabric from Michaels. I used a black and white zebra print, but had some fun with the Tulip One Step Spray Dye kit to turn it to a tie-dyed zebra print. I made the keepsake board for my daughter who is a tween, and tweens love the tie-dye look. (At least the one in our house does!)
Tween Keepsake Board Tutorial
Materials:
–> 16×20 wrapped canvas
–> 1 yard canvas fabric. I used the Crafty Cuts from Michaels.
–> 8 1/2” x 14 1/2” piece of cork, at least 3/16” thick (I cut mine from a larger roll. I have plenty left over for other projects!)
–> Carpenter’s glue or other strong adhesive
–> Staple gun
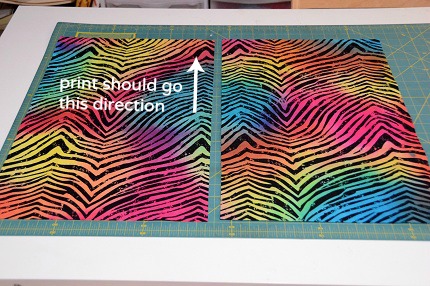
1. Cut the fabric you’ll use to cover the board – 2 pieces, 20” tall x 13” wide
Why two pieces of fabric? Because the seam down the middle hides the raw edges on the sides of the pockets.
If you’re using a directional print, make sure the pattern goes the right way. (The 13” sides will be the top and bottom.)
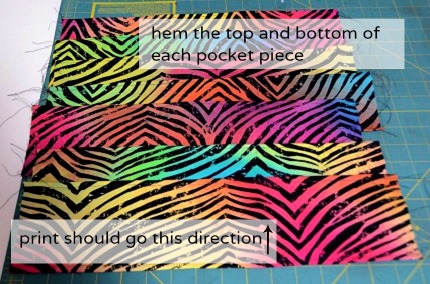
2. Cut and prepare the pocket pieces – 7 pieces, 6” tall x 16” wide
There’s some flexibility in the dimensions of the pocket pieces. They’re going to be placed at funky angles, so if you need to fudge a little on the dimensions that’s okay. Keep them between 5-6” tall and 15-16” wide.
Again, if you’re using a directional print, make sure the pattern goes the right way. (The long sides will be the top and bottom.)
Hem the top and bottom of each piece with a ¼” double fold hem. (Turn under ¼”, then another ¼”, then hem.)
3. Arrange the pocket pieces
Take one of the 20” x 13” pieces of fabric. This piece will be the base for your funky angled pockets. Lay your strips across it at alternating angles, making sure that the top of each pocket covers up the bottom of the pocket above it.
Your strips will be wider than the base. That’s okay. We meant to do that. That’ll give you more flexibility with placement and angle of each pocket. We’ll trim it away later.
As you get the pockets placed, pin along the bottom of each piece to they won’t shift during the next step.
4. Sew the pocket pieces down
Starting with the top piece, stitch the bottoms of the pockets down to the base piece close to the edge. (You’ll need to fold the pocket below out of the way as you stitch it down.)
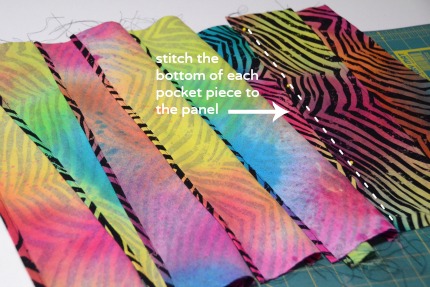
Keep going until you have all of the pockets stitched in place. When all of the pockets are stitched down, trim the excess from the edges.
Stitch all the way down both sides of the pocket panel with a ¼” seam allowance, securing the edges of the pockets.
5. Sew the panels together
Layer the plain panel face down on top of the pocket panel.
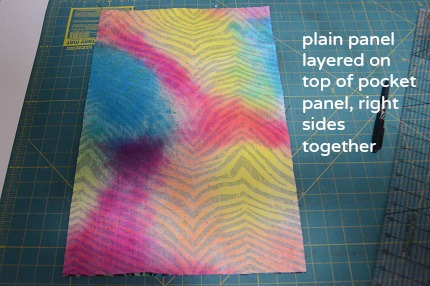
Stitch down the right side with a ½” seam allowance. Iron the seam allowances to the plain panel side.
6. Wrap and staple to the canvas
Center the fabric piece over the canvas.
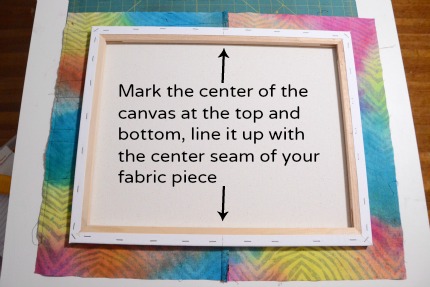
I’m pretty anal about making sure things are centered and squared, so I marked the center of the canvas. I made my markings on the back of the canvas, on the wood frame. Then, all I had to do was line those marks up with the center seam of the fabric piece and I was certain that my piece would be centered horizontally across the canvas.
Wrap the edges to the back and staple to the canvas frame.
7. Glue down the corkboard
Use carpenter’s glue (or other strong glue) to glue the cork piece to the center of the plain panel.
I cut my cork piece from a roll of cork. It came off the roll all curled up. You can fix that pretty easily with a steam iron. Just be sure to use an ironing cloth.
Very carefully turn the whole canvas over. Stack some heavy books over the spot where the corkboard is and let the glue dry overnight.

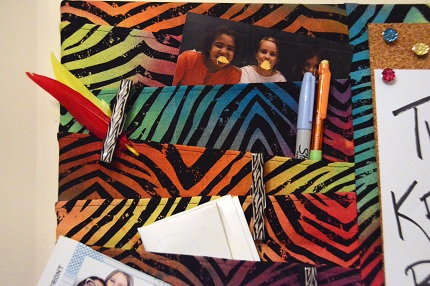
Add some pretty thumbtacks and maybe some decorative clips to the pockets, and you are DONE!!
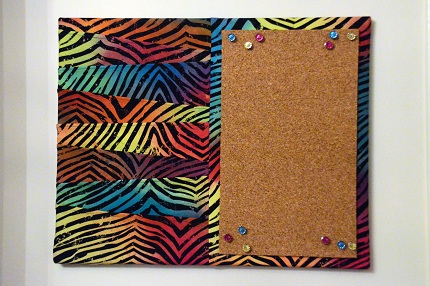
It won’t take long for your tween to load it up with notes from friends, favorite photos, and other tweeny keepsakes.